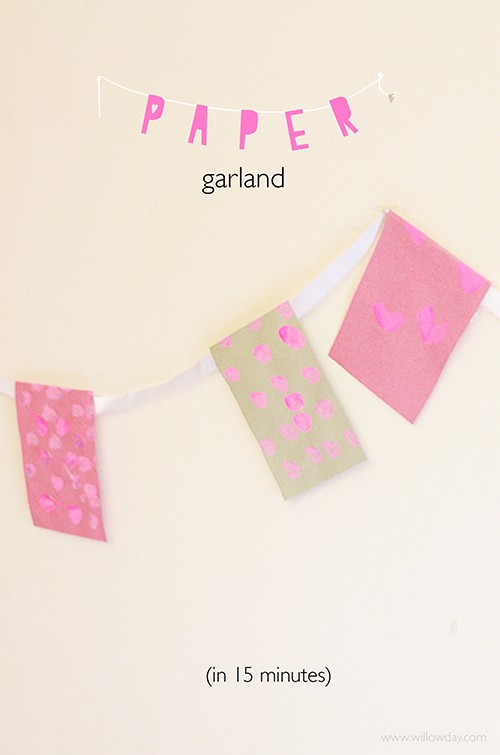
Do you need a last minute Valentine Party Decoration? Make this Paper Garland and have your own personalised Valentines Garland in 15 minutes. The impact is big but, the technique is super simple making these a: Yes-you-can-garland.
(I bet that you already have the supplies at home.)
(I bet that you already have the supplies at home.)
Jump below with us to learn how.

Last weekend, I shared a family painting project on Instagram | here | and absolutely loved the conversations we were able to have with one another about family creativity. It had me thinking. I realised that I hadn’t something that we make a lot: paper garlands. These are a super way to have party decorations in a snap. I’ve been making Paper garlands since I was a kid and I’ve realised that we make these with really even thinking about it. They are made and go up so fast.
They’re a perfect last minute party accessory for this weekend but, a technique to use for any occasion, just change the colours.

How to make a Valentine Garland in 15 MinutesLet’s start by gathering supplies:

Supplies:
– Colored Construction Paper
(If you’d like to make one like ours, these were letter sized pieces of color coorinated construction paper. We used 3 colours of pink toned tempera paint to paint patterns on the paper)
– Ribbon
– Double Sided Tape
– Cutting Tool (For perfect edges: use an Xacto Knife; for small hands: Use Scissors)

– Cut Rectangles.
Adult: If you are an adult and know your way around with an Xacto Knife + T-square, then cut perfect, same-sized rectangles.
Kids: If you are making this project with a child or they are making these on their own, simply, fold your paper in quarters and cut along the creases with a scissors. I think the infection of the edges with this paper heavy paper adds charm.

– Once the paper has been cut, lay it out in a pattern.
– Place Double Sided Tape along the top edges of each piece.


Once the tape is ready, draw the ribbon out and press it onto the tape.
Important before adding the ribbon:– Leave about 6-12 ” of ribbon on each end of the garland.
– Leave approximately the same size between each paper.
If you would like to make a banner like this one, we just used our palms to create palms-widths between each paper.
– Press firmly.

Once the ribbon is secure, you have your banner and it’s decorating or party time. Congratulations!

Whether you add this quick and easy banner to you day or weekend or save this technique for another day, we wish you a happy willowday. As always, I would to see what you do, too!
Happy Day!
Happy Day!


Something you might like:DIY Ice Cube Garland
Fish | Butterfy Garland
Cherry Garland
Paper Fan Garland
Felt Flower Garland
Fish | Butterfy Garland
Cherry Garland
Paper Fan Garland
Felt Flower Garland


Come visit our Facebook willowday Page and like us.
For more projects like this, come visit our Pinterest Page. Or join me for Instagram for daily posts, too.
For more projects like this, come visit our Pinterest Page. Or join me for Instagram for daily posts, too.
Get all willowday posts, projects and play right to your in-box!


