Happy Friday,
We have sun and this is keeping thoughts of rainbows large in my mind this week. Although, we still have a lot of snow and need to make our own, here’s one last Rainbow Project for you to do with your kids and links for some rainbow-inspired treats, too.
I thought to share this additional rainbow project after getting such nice mails from you, in response to the 10 Rainbow Projects Post. (here) I really love painting projects and this is one that I see that I pull out every Spring. It’s also one that I’ve used with kid’s birthday parties, teaching and in groups.
COLLABORATIVE RAINBOW ART
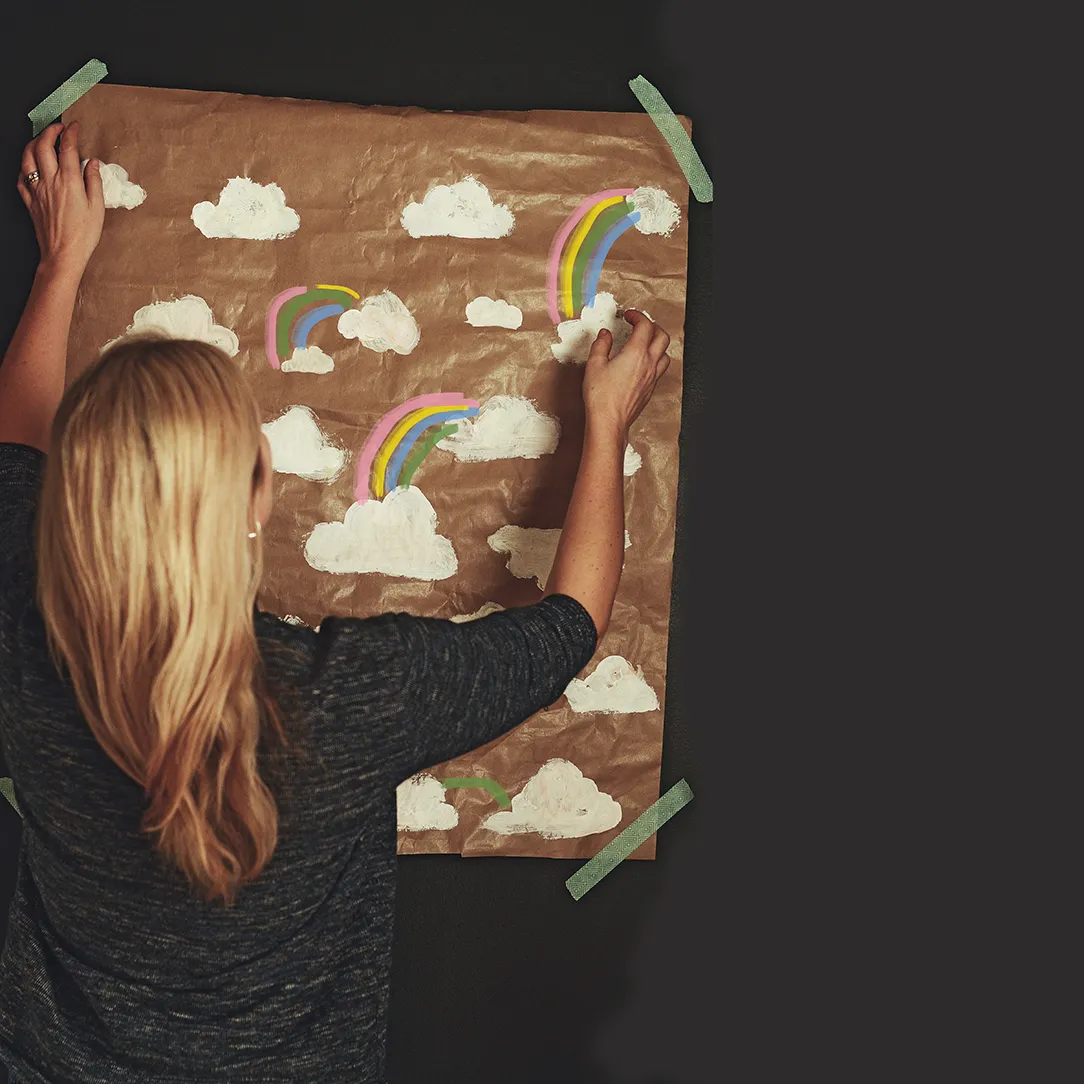
After school, when the kids were little, I often set up a project on the table. I would only set out the elements that were necessary for the project. I prepared a table with all of the supplies organised in the middle. For this one, I wanted the kids to focus on color so I had a pre-painted canvas with clouds laid out, too. We’d talk about the idea of rainbows and they had the paints ready to add rainbow to the artwork. You can let your kids paint the clouds, too; but, if you’re doing this in one sitting, then, I’d recommend fast drying markers, rather than paint. Since I wanted a paint project and know that white runs until it’s dry, I wanted to have that part prepared and out of the way. Both work. This is what you’ll need:
- Large sheet of paper (Mine was 70 x 100 cm so that we could frame it). I like to start by painting clouds so that the canvas is prepared the the kids can focus on the rainbows but, you could have kids do it all.)
- Coloring or paint material: Guache or Tempera Paints or Chalk, Posca Markers.
- Tape
- Paint brushes if you are using paints and water for rinsing.
COLLABORATIVE RAINBOW ART PROJECT, ESL:
Discuss 1. colors 2. seasons 3. weather and 4. directions (up, down, left right). I’ve used this concept in two ways:
- Full Rainbows: Each child could find the colors of a rainbow in markers I’d laid out, then drew a rainbow from one cloud to the next. We progressed through the class so that each child drew one rainbow with their name written below. This works well for a large group.
- One Color at a time: Each child would pick one color at a time and one-by-one, each child would add a line to a rainbow continuing until rainbow after rainbow was complete. This works well for a small group
Yesterday, I was at an art show, Liljevach Vår Salong. It closes March 25 and I have saved it in Instagram Stories(here) for you to get a glimpse. We were talking about collaborative art while strolling and it made me think to share this last rainbow with you this weekend.
ARE YOU ON PINTEREST? RAINBOW TREATS FOR KIDS, HERE
KALEIDASCOPE | HERE
10 RAINBOW PROJECTS | HERE

Have a wonderful weekend! Remember that I love to see your work. Don’t be shy. Share it with me on Instagram or Pinterest | Facebook.

