flora and fauna artwork | GREETING CARDS SETS | HERE (limited printing)
HERE (limited printing)
DAY 1 | Piñata Tree Ornaments
Happy December. Welcome to Day 1 in “The Creative Collective Sweden’s: 24 Days of Creativity Calendar.” The guests and the entire month have me seeing rainbows; gingerbread rainbows, actually. I suspect that when you see the guest list below, you’ll feel the same. I’m so thrilled and relieved to finally be able to say, “Let’s go.”
If you’re already a follower of willowday, then you know that I’m attacted to projects that can have multiple uses. I think these piñata are that kind of project:
– ornaments
– table decoration
– gifts
– advent calendars.
I can’t wait to see what you do with these.
![post_tcc_2016_pinata_main]() You need:
You need:
 You need:
- Paper Hats (Use store purchased or make your own using this template | Click here)
- Tissue or Crepe Paper
- Scissors (optional: Fringe Scissors, if you have these)
- Glue Gun
- Ribbon
- Wooden Skewer, if making the variation with the tree trunk
- Candy or Toys
Let’s Make:
Start by assembling the hats.

 – Cut ribbon to size and adhere to the top of the hat with glue gun.
– FrInge Crepe or Tissue Paper in long strips.
 — Cut Paper Circles that will cover the bottom of the hat.
 These can be made with matching paper or tissue paper.
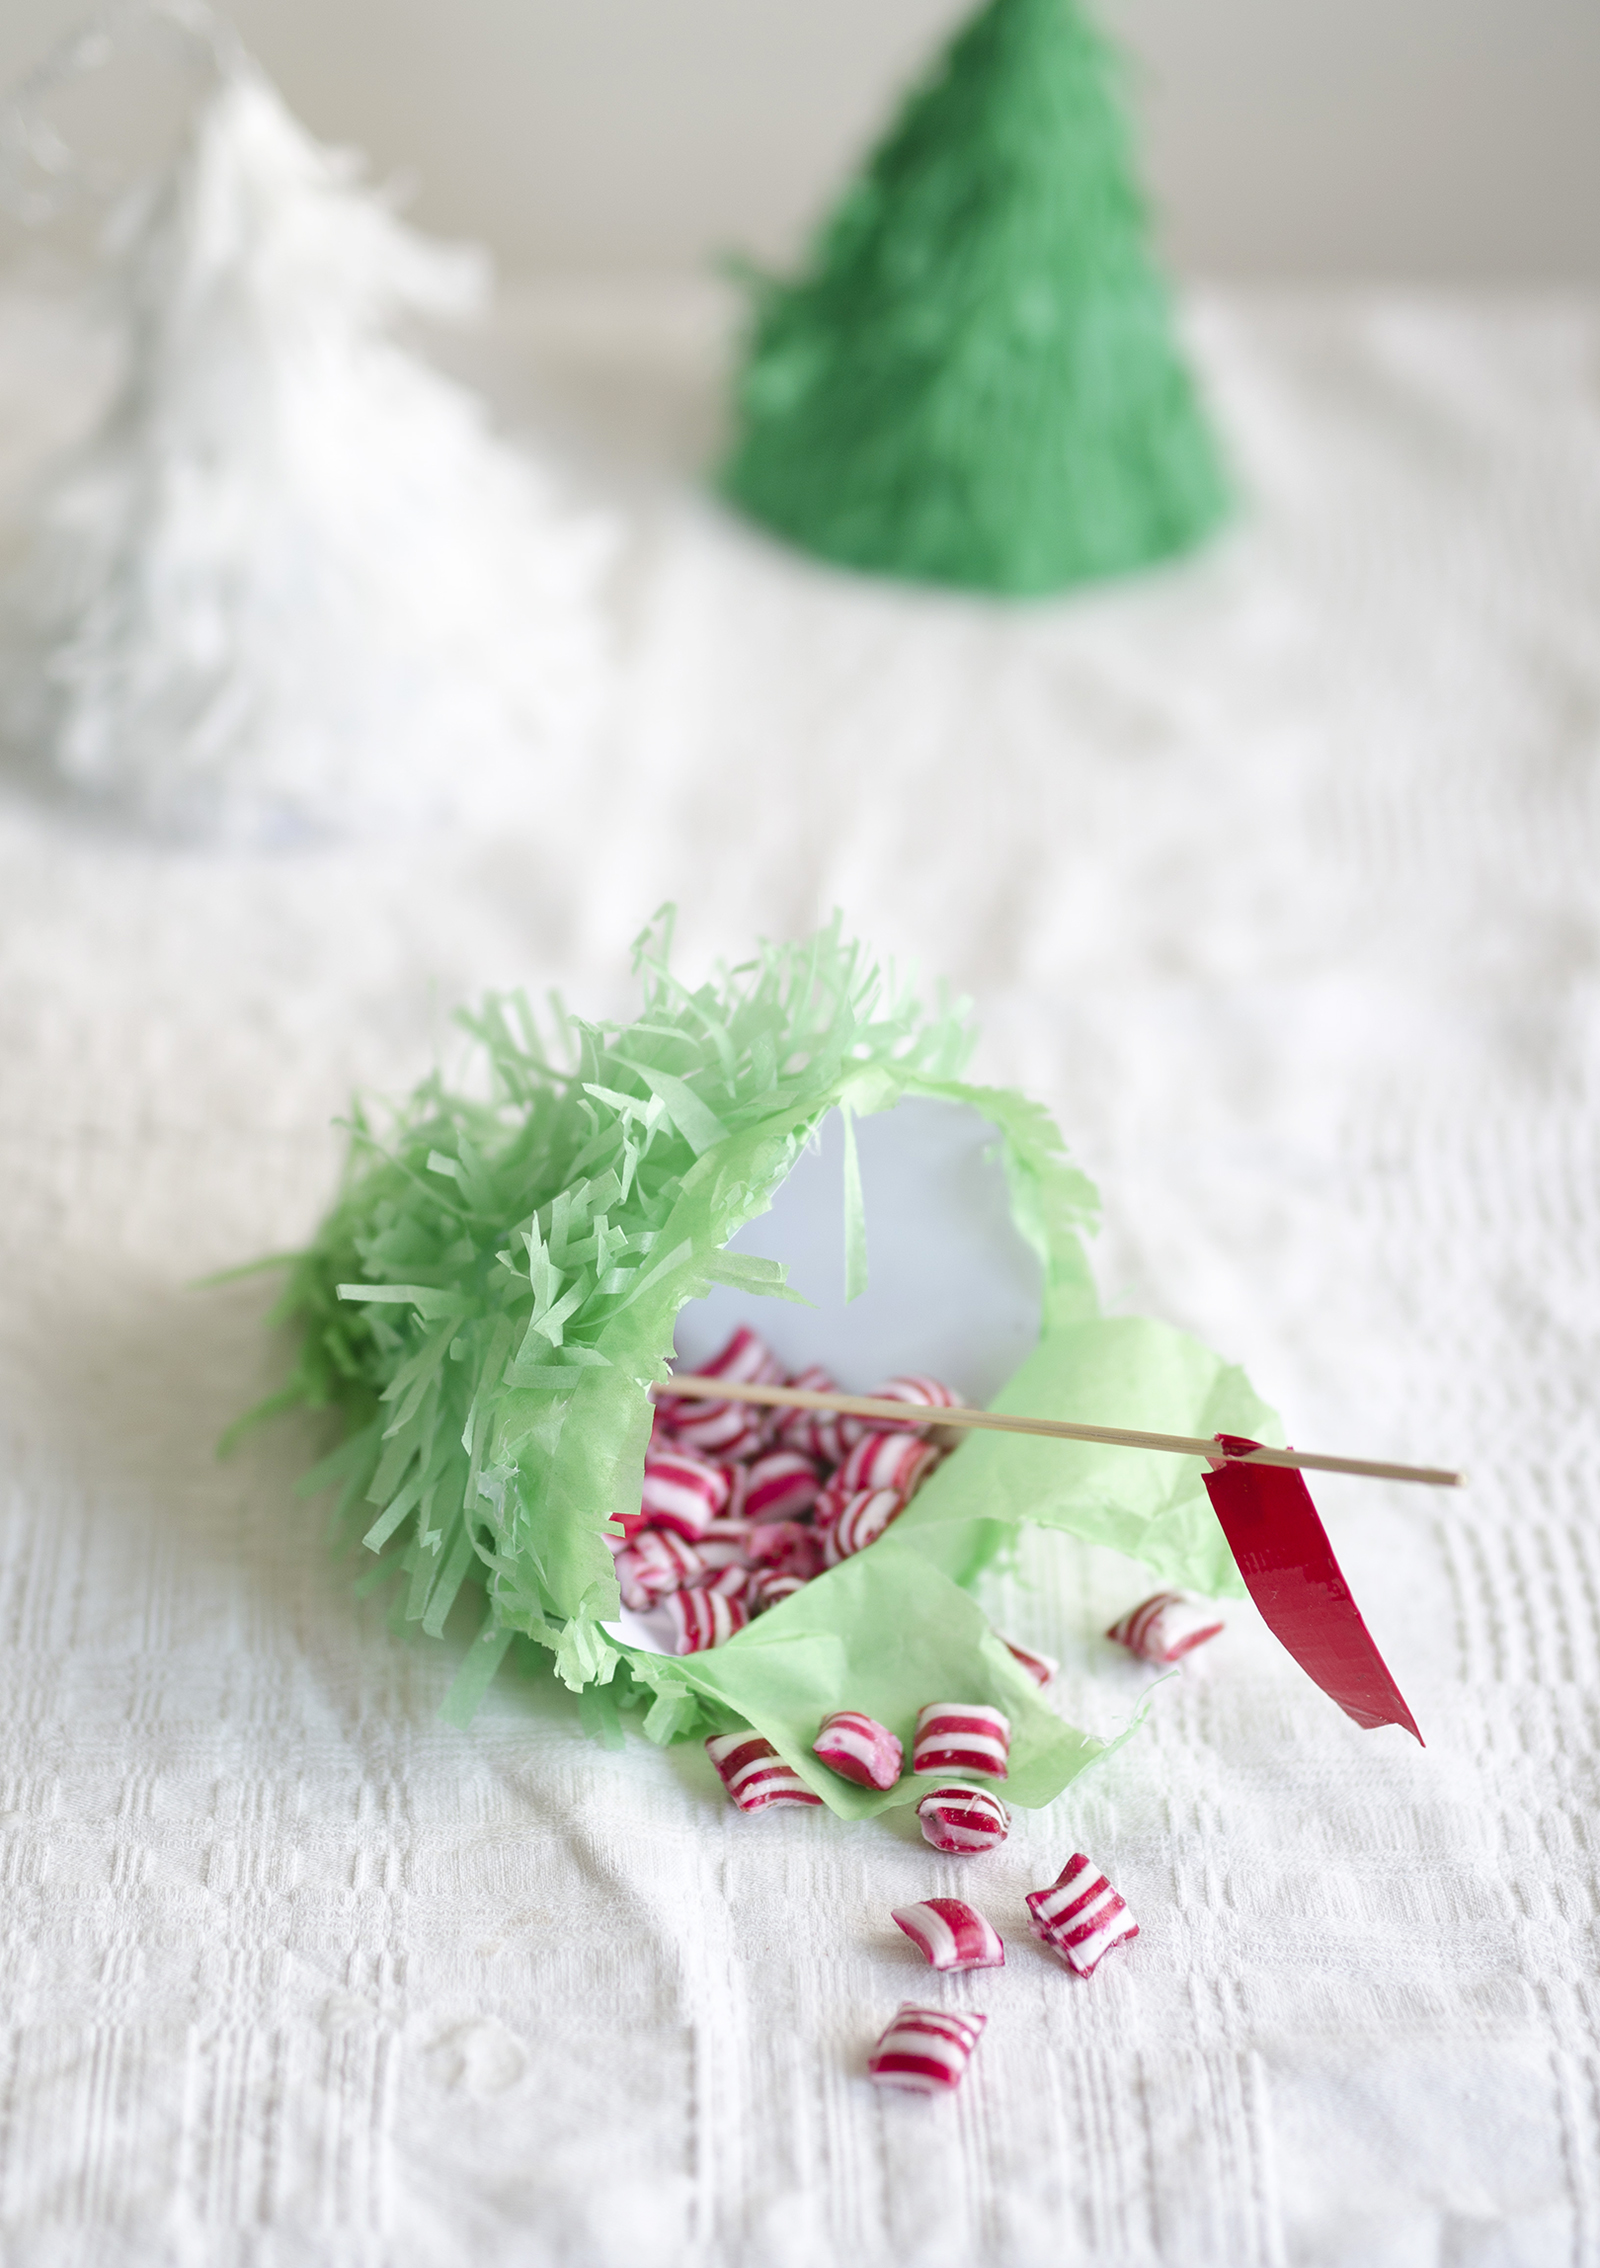
![post_tcc_2016_pinata_steps_c]() Place Candy and Treats in the middle of the circle,
Place Candy and Treats in the middle of the circle,- Apply glue to the outer edges of the circle and press the hat in place so that it closes.
- After the cone has been filled and sealed, adhere fringe around the outside of the cone.
- Once this is dry, your ornaments are ready!
- Remember: these aren’t just pretty, these ornaments are meant for action, as well.
 Place Candy and Treats in the middle of the circle,
When party time comes, pop open the bottom and enjoy!

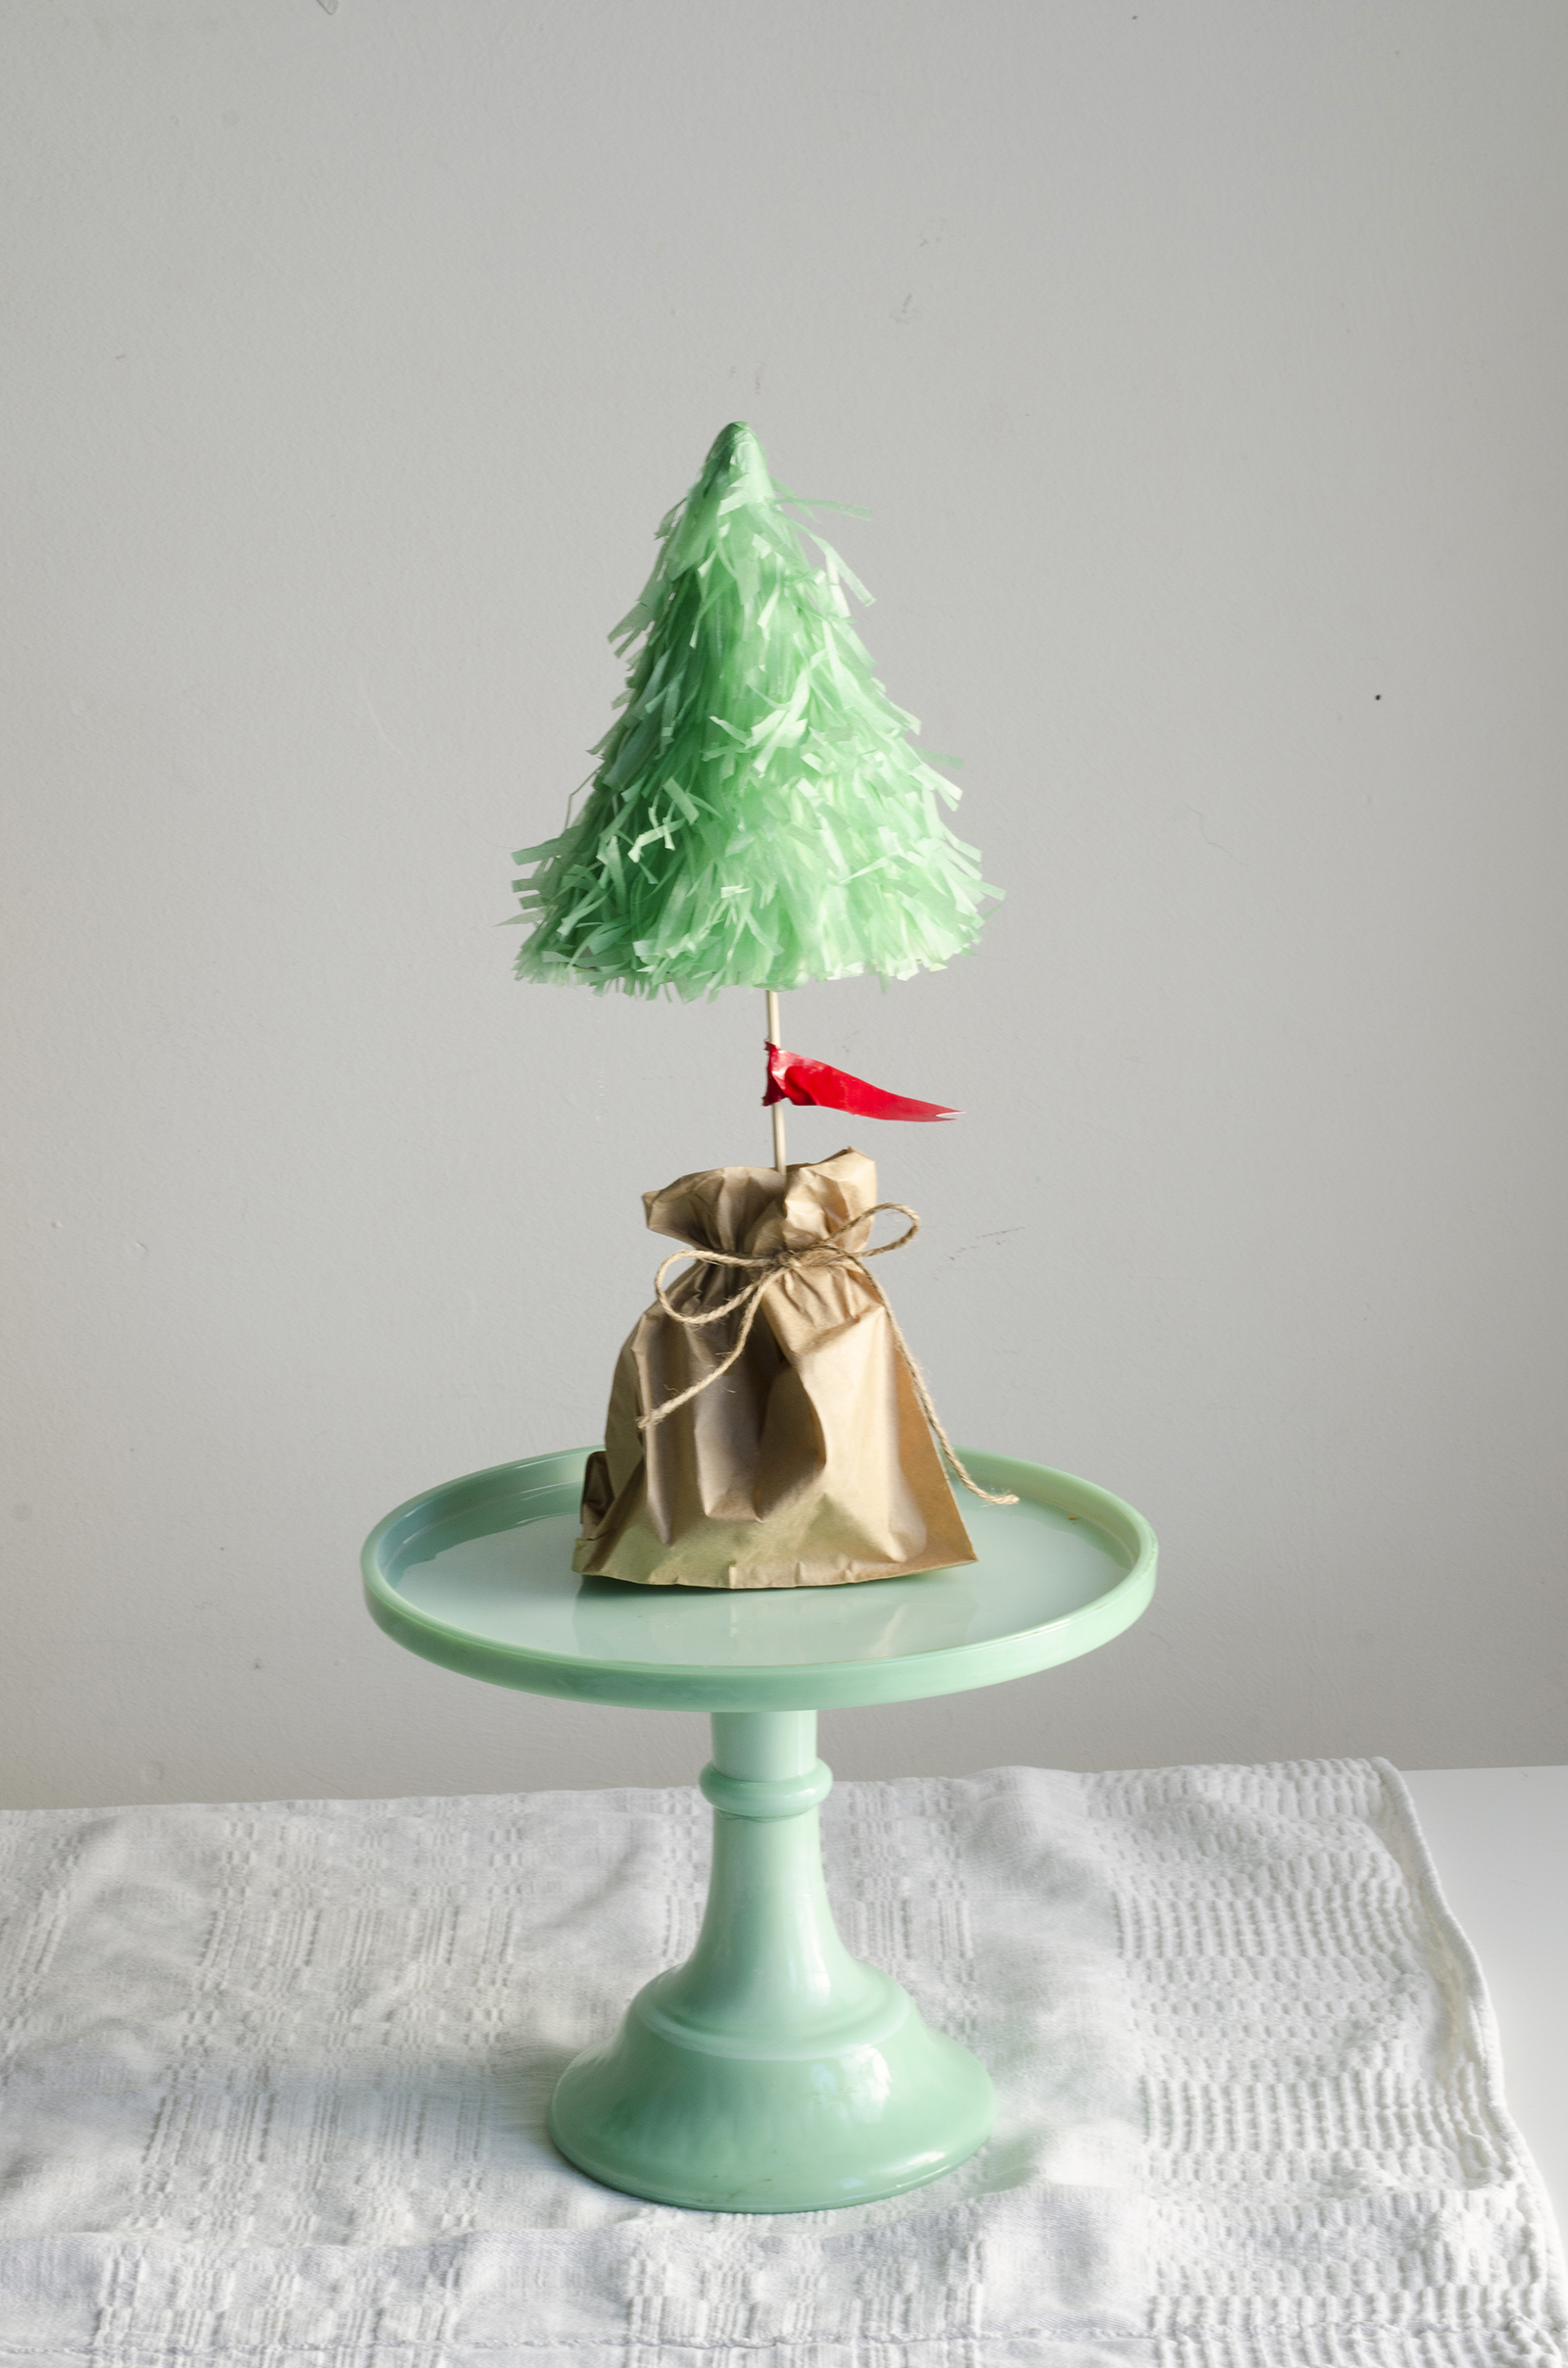
Optional: if you’d like to have a tree on a long wooden trunk there are two steps to add before filling the cone with candy.
- Fill inside point of the hat with glue and press the wooden skewer into this
- Let cool.
- Once this is cool, fill the cone with candy or treats then, delicately mark the middle of the paper base or make a very very small hole. Slide the wooden skewer through the base and then adhere the base to the cone, as above.
- The hot glue is perfect for creating a stable base to hold the wooden skew.
Something you might like:


Willow Wishes!
If you’re looking for more projects to make, | HERE | or items from the kitchen | HERE |
Something you might like:

Swedish Snowflakes: Moose Snowflake , Dala Horse Snowflake , Snowman Snowflake
Willowday Wishes. Join me on INSTAGRAM | PINTEREST | and FACEBOOK, too.
LEAF THROUGH PRINT SHOP | HERE