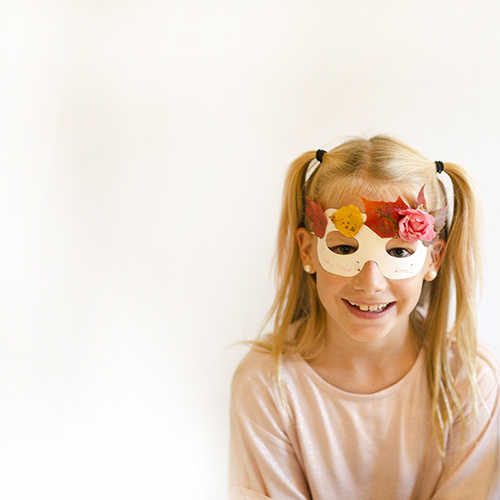
Fall for Fall and make Leaf Masks.
Continue below for tips for making and printable template.
TO MAKE A LEAF MASK
Supplies:
leaves, paper mask, adhesive (we used hot glue but, glue sticks work for your kids, as well.)
HOW TO
- Gather leaves.
- Print Paper Mask Template: Mask Template | click HERE
- (If using the template or making your own: draw, cut, add holes for eyes will be and punch holes for string.
- 3. Glue leaves to mask
MASK TEMPLATE | CLICK HERE
Tips:
- Pick extra leaves that are in good condition. Make sure they are clean and dry.
- Think out a pattern before gluing
- Think about where your nose and eyes will be under the mask before adhering leaves
- The masks would be uncomfortable, for example, if sharp leaves are stabbing cheeks or accidentally covering eyes.
- I like to creating from the middle out, or from the outside in — encouraging thoughts of pattern and symmetry before hand.
- If these will be worn more than once, lay them flat to dry. You may also press them under books.
SOMETHING YOU MIGHT LIKE:
30 + LEAF, FLOWER AND FOLIIAGE PROJECTS
OTHER THINGS HAPPENING AT WILLOWDAY.
- If we’ve met on Instagram, then you might know that I’m busy finishing up my Flower Safari Book or that I’m currently working with extensively on FLORAL ART and illustration. Here are few of my current ART PRINTS in my shop | HERE.
- New prints coming soon. I am constantly updating my store and work with requests and commissions.
- Contact me direct with a DM or via email: willowtweet (at) gmail (dot) com.
ART PRINTS | CLICK HERE PICK UP THIS — UNIQUE PRINTS JUST FOR YOU

