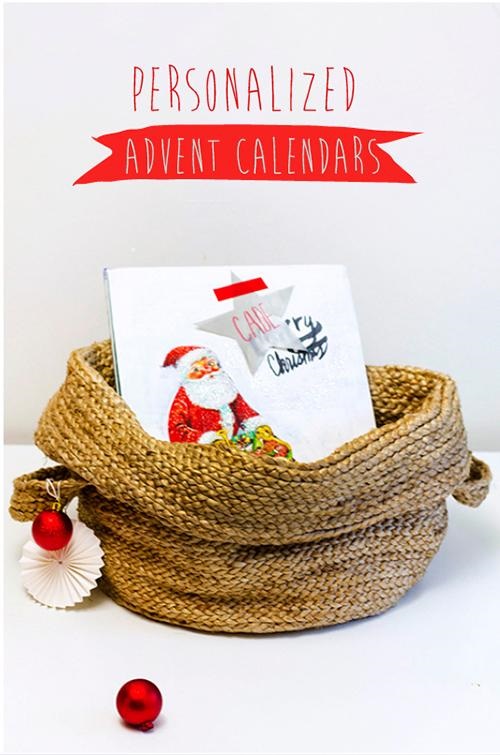

Make Personalized Christmas Calendars. (It’s actually a hack and a project that’s super fun with kids!)
With December 1st, right around the corner, I realised that I shouldn’t hold off with one of our two Advent Calendars, this year. This one’s for fun and a great project for young artists or to do with a group. This week we painted our own Christmas Calendars with Chocolates and if you jump with me below, I’ll show you how you can do the same!


I mail a traditional calendar with chocolates to our nieces and nephews in the US every year. There’s something about this ritual and the classic images that feels like a fun way to set the mood plus: they’re very light and made of sturdy cardboard, which is important to consider when it comes to mailing things overseas; but they don’t change their motives regularly and this gave me an idea.
We could use this to paint our own. This is how it’s done:


We set up the studio for painting and got busy personalising these classic calendars in a variety of way. By blocking off areas of the original artwork and painting the negative space, it was easy to experiment with different ideas: blocking out characters, words or patterns.


Let’s start:
One of the hardest aspects of writing this post was what can we call these: Advent Calendar Hacks, Make a Christmas Calendar Gallery or up-cycle traditional Christmas Calendars to make them your own!

Materials:
One Traditional Cardboard Advent Calendar with Chocolate
Paint (we found Acrylic or hobby paint to work the best)
Paint Brushes
Painters Tape or Washi
Scissors
Glitter, optional (depending on how you feel about glitter in the house)
– Prepare painting surface.

– Decide what areas you would like to block off and then, do so with tape.
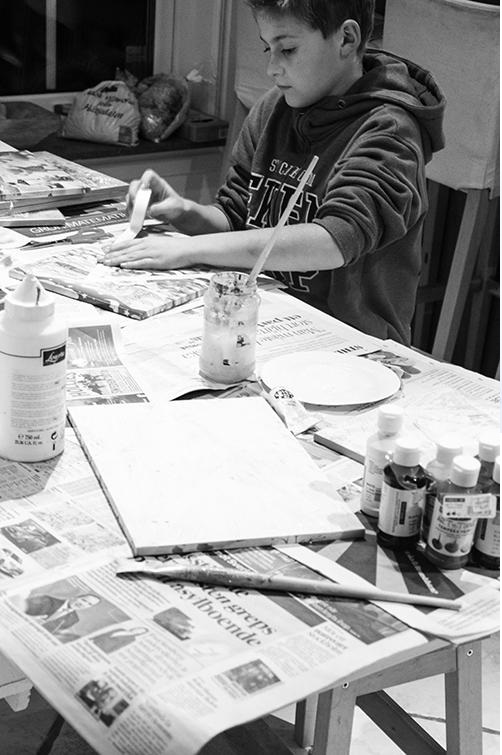

– Paint over the entire surface, let dry.
– Paint a second coat if necessary.

– Let dry and then, peel away the tape.

– When the pattern has been revealed add whatever extra embellishments you would like with paint, glitter or markers.


– Ideas can be to personalise these with expressions, greetings to names: continue drawing or painting: adding more to the scene or add glitter. Using white glitter to the lighter areas is a perfect way to add a vintage feeling.
If adding numbers, just turn the box to the light to see the edges of each window and write each number on the correct window. If one accidentally opens, a dot of strong glue (glue gun) will close it back up again.

I like this as project to make with bigger kids because it becomes a place to experiment for some and for others, if you’re making them for others, like we are, they’re a really great way to think about some one important to you. For us, these will become almost “big cards.”

Wishing you big, willowday wishes. If you use this idea or tutorial, I would just love to see what you do with it. Don’t hesitate to mail your projects to me, share them on Facebook (and share them with me) or on Instagram. Use the #willowdayproject tag!
Something you might like:
DIY: Lego Advent Calendar
Winter Wonderland Advent Calender


