-
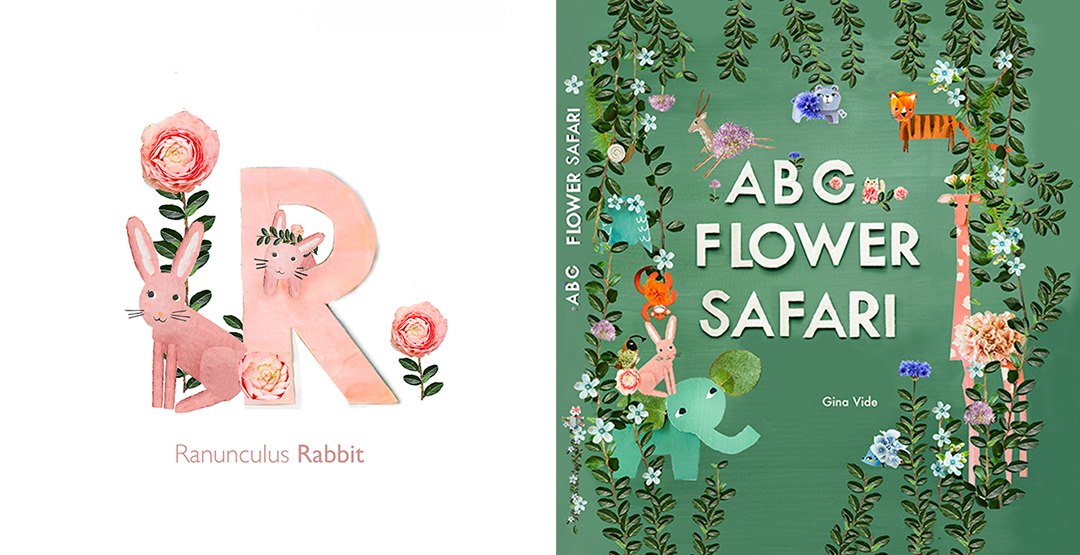
BUY my new ABC Flower Safari Book | HERE
“R is for Ranunculus Rabbit”
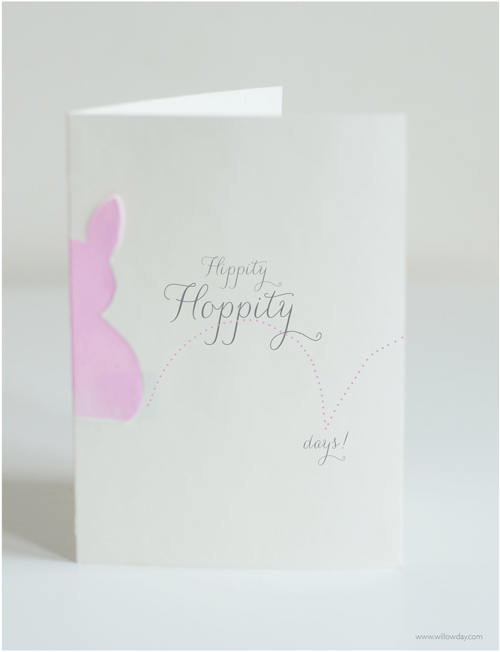
Hippity. Hoppity. Pop-Up Bunny Cards | FREE PRINTABLE
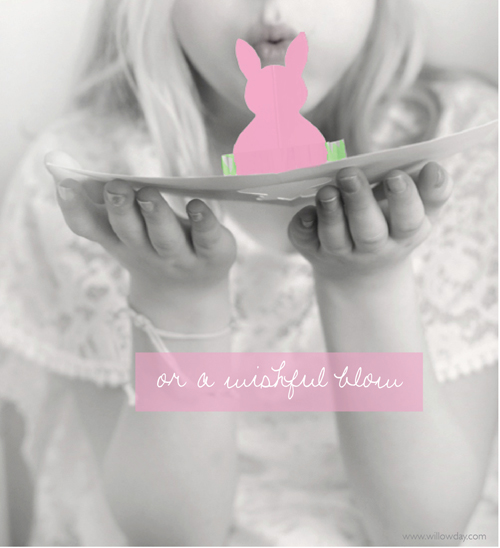
The Easter Bunny’s on his way! We’re making Bunny Pop-Up Cards today. Are you ready to make these Pop-up Easter Bunny Cards, too?
Traditionally, Easter weekend in Sweden will mean that neighborhood kids will arrive, making a trick-or-treating-type circuit. Swedish children go from house to house dressed up as witches — yes, a witches — passing out hand made Easter Cards or drawings, trick-or-treat style, in exchange for coins and candy!
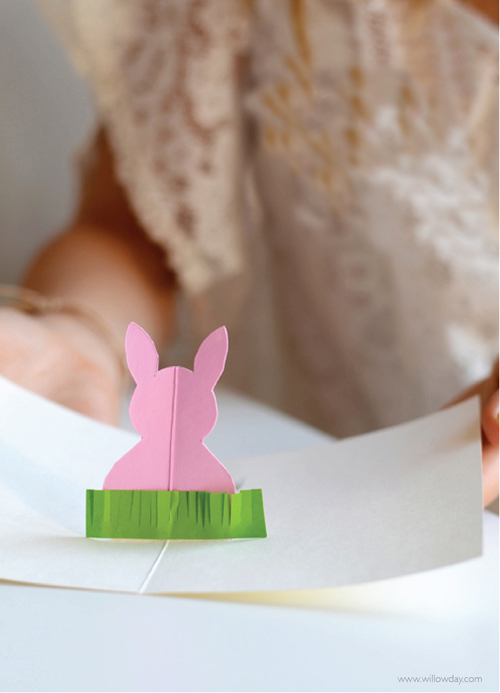
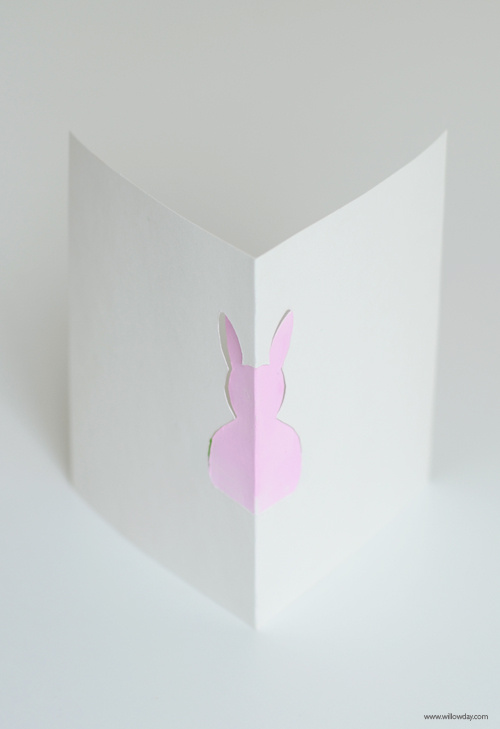
Below, you will find the instructions and printable template for these super, simple and versatile Pop-Up Cards. The bunny pops up when you open the card ….
These Pop-up Easter cards will mailed but, making them had me thinking about what’s ahead. Even if the Easter Rooster comes to Sweden or the Easter Bell in France, it’s the Easter Bunny who comes to our house. I’m fascinated with culture and traditions. I wasn’t familiar with the Easter bell until I met my husband. Are there other traditions where you live? I’d love to hear from you. Do you do much as preparation? We have our Easter Bouquet (here) and are working on eggs, too.
Template (if desired — you can also choose to freehand the bunny)
—- A4 European Pop-up- (click here) Bunny Card Template
—- US Letter Sized (click here) Bunny Card Template
Card and envelope
Paints, crayons or glitter pens for coloring the bunny
Writing Pen
Xacto Knife
Green paper
Scissors
Bone tool for scoringTutorial: Let’s get started:
Prepare a working space that has a cutting surface. If you would like to use a template for cutting out the bunny, choose the template (here or here). If you cut this template in 1/2 it should fit standard sized cards in your region. So, to get started, cut out the bunny in the middle of the temple. Now, with the bunny cut out, fold it over the card. Carefully cut around the body of the the bunny but do not cut the area at the base of the bunny. This area needs to remain intact and will be the area that will be folded. Once it has been cut, slide a piece of paper under the bunny to protect the card and paint, color or glitter the bunny. Let dry. Flip over and repeat on the other side. Cut out a rectangular piece of green and fringe it for grass. This piece will be glued to the base of the bunny. Gently score a straight line at the bottom of the bunny and fold up, then, back into place. Write, paint or glue any text or Easter greeting to the interior of the card or to the cover. Sign and slip it into the envelope. It’s ready for mailing! Hippity. Hoppity wishes for a great day! Happy making.


Something you might like:

PS; Can you guess what we’ve used to dye these eggs | HERE?

Additionally:
- Crafts for kids: Have you download the first gift: 12 fun things to make FOR SLOW DAYS AT HOME? | here
- Drawing: Start with a swan | here (note: I’m working on best format for you to draw with me or formats. If you have a preference or if you do one of these, please don’t be shy to let me know! )