JOIN ME ON INSTAGRAM FOR MORE INSPIRATION | HERE


DIY: TRAVEL AIRPLANE JOURNALS
(traveler project part 2)
Combine your kid’s drawings with this super useful project:
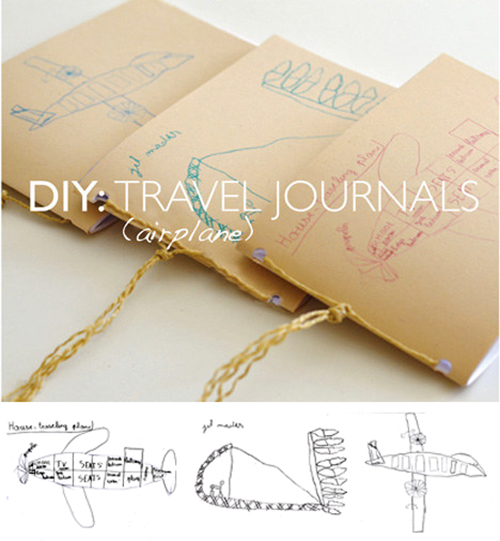
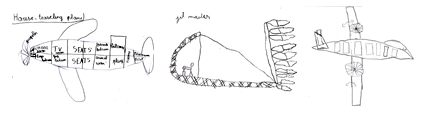
I like the kids keep a travel journal and/or have a travel art pads when we’re away. I encourage this a little differently each time we travel. This time, using the same airplane art-part I, from the luggage tags, as the foundation of the project, I created these matching journals for each of them.

These simple but, useful journals were filled with more airplane drawings before the plane even left the ground.

Continue below for full tutorial:
SUPPLIES:
Heavy cover stock that can still fit through a printer
Unlined drawing paper
Hole Punch
X-acto Knife
Cutting materials (I use a t-square, metal ruler and triangle)
Cord for binding
HOW-TO:
Print:
Using the same scan, in Photoshop, I colored their artwork to coordinate with their luggage tags before printing, but, this is optional. I sized the art, again, to fit into 1/4 of a piece of typing paper (A4 in Europe or 81/2 x 11 inches) and then, printed one cover for each of the children, onto the cover stock.
Cut:
1 cover from card stock (include front + back cover): Remember that the cover piece must include both a cover and back cover in one long piece that you will fold down the middle. (For example, if you use the same size I used, this means that it is like cutting the paper in 1/2 or down the middle, the long way.) Cut approximately full length 10 interior pages to match this double size. Stack the cover on top of the interior pages and fold the journal in half so that the final journal has 20 pages. Finish by smoothing the fold with a boning tool. Carefully cut two holes along the spine and thread cord through these holes to bind. Secure the cord; clip excess and your journal is complete. (Note: A regular hole punch is able to perforate about 20 standard sheets of paper.)
Happy inspired travels!
Continue here for a second use of your kids artwork. Make Luggage Labels. I love these as a unique way to personalise luggage:!
Click (here) to see how to make the matching Luggage Tags

Happy Making. As always, I love to hear from you and see how you use these tutorials.
Something you might like:
Luggage Tags
Freezer Paper Travel Tees,
Unplugged: Painted Rocks
Flattened Penny Charms